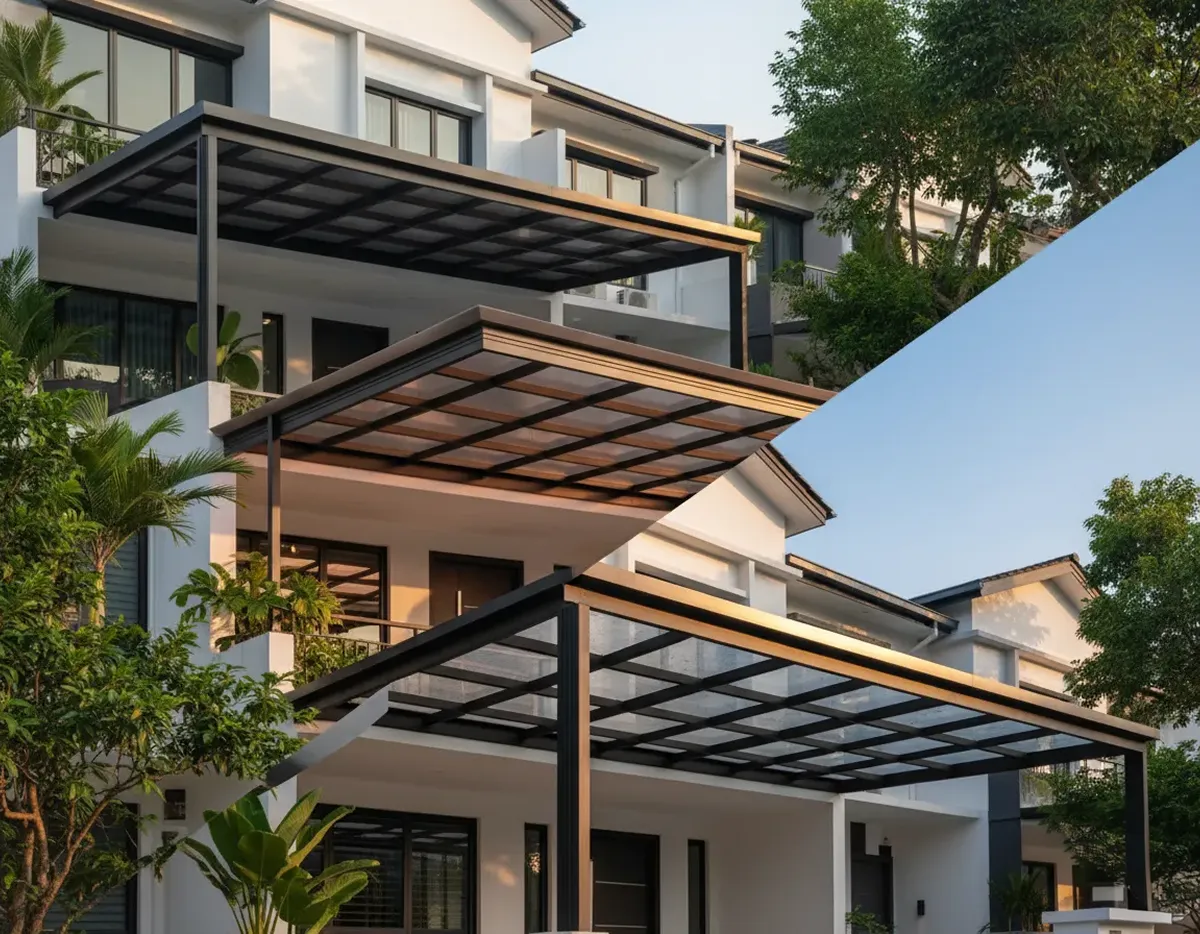
How to Construct and Install a Fixed Awning: A Technical Step-by-Step Guide
Step 1: Site Assessment and Structural Survey
Before any design work begins, a thorough site assessment establishes the parameters that every subsequent decision depends on. This is not a visual inspection — it is a structured data-gathering exercise covering substrate type, structural capacity, dimensional constraints, and environmental exposure.
Substrate Identification and Testing
The first task is to positively identify the wall or beam material receiving the awning fixings. Common substrates in Singapore construction are reinforced concrete, autoclaved aerated concrete (AAC) block, clay brick, and precast concrete panels. Each has a different characteristic compressive strength and pull-out capacity, and the fixing specification changes accordingly.
For reinforced concrete substrates, a Schmidt hammer rebound test gives an indicative in-situ compressive strength reading that the structural engineer uses to verify chemical anchor pull-out values against the manufacturer's load tables. A cover meter survey then maps the reinforcement positions within the concrete so that anchor bolt hole positions can be laid out to avoid drilling through rebar. Drilling through structural reinforcement is prohibited — it reduces the cross-sectional area of the bar, creates a stress concentration, and in post-tensioned concrete can be catastrophic if a tendon is struck.
For AAC block substrates, standard chemical anchor systems designed for dense concrete are not appropriate — AAC has a compressive strength of only 2 to 4 MPa compared to 25 to 40 MPa for structural concrete, and anchor pull-out values are a fraction of those achieved in concrete. Specialist AAC anchors with large-diameter nylon expansion sleeves or through-bolt systems with backing plates are required. If the engineer determines that the AAC wall cannot develop sufficient anchor capacity for the awning loads, a concrete padstone cast into the wall at bracket positions may be necessary before fixing can proceed.
Dimensional Survey
A precise dimensional survey records the finished wall face dimensions, the floor or ground level beneath the proposed awning, any protrusions — pipes, conduits, existing fixings — within the bracket zone, and the distance to any adjacent boundaries or structures that affect the awning projection. In Singapore's landed housing context, the distance from the proposed awning edge to the property boundary must be confirmed against the approved building plans before the projection dimension is finalised, as awnings extending beyond the boundary require separate regulatory approval.
Exposure Category Assessment
The site's wind exposure category — determined by its topographic position, surrounding obstruction height, and distance from the coastline — feeds directly into the design wind pressure calculation. A landed house in an open area near the coast in the east of Singapore sits in a higher exposure category than an identical house in a sheltered estate surrounded by taller buildings, and the structural design must reflect this difference.
Step 2: Structural Engineering and Drawing Production
With site assessment data collected, the structural engineer produces the awning design. For fixed awnings this involves four interdependent calculations: wind load, glass or panel load, bracket design, and anchor design.
Wind Load Calculation
Design wind pressure is calculated in accordance with Singapore Standard SS CP 3 Chapter V Part 2 or the more recent EN 1991-1-4 Eurocode approach adopted in local practice. The basic wind speed for Singapore is taken as 35 m/s at 10m height in open terrain, modified by factors for height above ground, terrain roughness, and topographic effects to give the site design wind speed. This is then converted to a dynamic wind pressure q using the formula q = 0.5 × ρ × v², where ρ is air density (approximately 1.2 kg/m³ at Singapore ambient conditions). Pressure coefficients for the awning geometry — accounting for both downward pressure on the top surface and upward suction on the soffit — are applied to give the net design wind pressure in kPa acting on the panel area.
Glass or Panel Selection
For glass awnings, panel thickness is determined by combining the calculated wind pressure with the panel's self-weight and applying these loads to the panel as a simply supported or three-edge supported plate, depending on the frame geometry. The maximum tensile stress at the centre of the panel under combined loading must not exceed the design strength of the glass type — for tempered glass this is typically 50 MPa for overhead applications with a safety factor applied, and for laminated glass the calculation must account for the composite action of both plies and the interlayer shear modulus, which varies significantly between PVB and SGP interlayer types and with temperature.
Bracket and Primary Beam Design
Brackets transfer load from the glass and frame into the wall. They are designed as cantilever beams fixed at the wall face, with the free end supporting the outer edge of the primary beam. The critical load case for bracket design is maximum wind uplift combined with the self-weight of the canopy acting downward — the bracket must resist both the bending moment at its root and the direct shear from the vertical loads without yielding or excessive deflection. Deflection at the bracket tip under design load is typically limited to span/180 or 10mm, whichever is lesser, to prevent visible sagging of the canopy under load.
Chemical Anchor Design
Anchor design follows the European Technical Assessment methodology using the Concrete Capacity Design method for pull-out, concrete cone failure, and splitting failure modes. Each failure mode produces a characteristic resistance value, which is then reduced by partial safety factors to give the design resistance. The number of anchors per bracket and their spacing must be sufficient that the design resistance in every failure mode exceeds the design load with the required safety margin. Edge distance and spacing requirements must also be satisfied — anchors placed too close to a concrete edge or too close to each other have significantly reduced capacity due to overlapping failure cones.
Step 3: Material Fabrication
Aluminium Frame Fabrication
Primary beams and brackets are fabricated from aluminium extrusions cut to length and drilled to the hole pattern shown on the structural drawings. All cuts must be made square — a bracket face that is not perpendicular to the beam axis introduces an eccentricity that creates additional bending at the connection. Holes for bolted connections must be drilled to the diameter specified on the drawings — oversized holes reduce the contact area between bolt and material and increase joint slip under load.
Welding of structural aluminium requires a certified welder using the MIG or TIG process with a filler wire matched to the parent alloy. Post-weld heat treatment may be necessary for 6061-T6 alloy to restore temper in the heat-affected zone. All welds on structural components must be visually inspected and where required, non-destructive testing — dye penetrant or ultrasonic — performed to verify weld integrity before the component leaves the fabrication shop.
Surface Treatment
All aluminium components must be surface treated before installation. Powder coating to a minimum 60 micron dry film thickness provides corrosion protection and colour finish. Anodising to 25 micron minimum is an alternative that penetrates the aluminium surface rather than coating it, offering superior abrasion resistance but a more limited colour range. All cut ends and drilled holes expose bare aluminium and must be touched up with zinc-rich primer or treated with an aluminium-compatible sealant before assembly — bare aluminium in Singapore's humid coastal atmosphere will oxidise rapidly at exposed edges.
Steel Component Treatment
Any mild steel components — typically weld plates cast into concrete or secondary brackets — must be hot-dip galvanised after fabrication to a minimum coating thickness of 85 microns in accordance with SS ISO 1461. Hot-dip galvanising after fabrication is critical — galvanising before welding burns off the coating in the heat-affected zone, leaving unprotected steel at the most vulnerable location. Where hot-dip galvanising is not practical, a high-build zinc-rich epoxy primer system to a minimum 150 micron dry film thickness is an acceptable alternative.
Step 4: Setting Out and Anchor Installation
Setting Out
Setting out transfers the bracket positions from the structural drawings onto the wall face. A datum line — typically a horizontal chalk line at the soffit level of the primary beam — is established using a laser level across the full width of the awning. Individual bracket positions are then measured along this datum and marked with a centre punch mark that will guide the drill bit during anchor hole drilling.
Before drilling, the rebar positions identified in the cover meter survey are marked on the wall and the drill positions checked against them. A minimum clearance of 50mm between the edge of the anchor hole and the nearest rebar is required — where a marked bracket position conflicts with a rebar location, the bracket position must be shifted along the datum to clear the bar, and the structural engineer must confirm that the revised spacing remains within the design assumptions.
Anchor Hole Drilling
Anchor holes are drilled using a rotary hammer drill with a carbide-tipped bit of the diameter specified for the anchor system. The drill must be held perpendicular to the wall face throughout — an angled hole reduces the effective embedment depth and introduces an eccentric load on the anchor that reduces its pull-out capacity. A drill guide frame should be used for all structural anchor installations to ensure perpendicularity is maintained. Hole depth must be verified with a depth gauge against the minimum embedment depth specified by the anchor manufacturer — a hole drilled 5mm short of the required depth can reduce pull-out capacity by 20% or more.
After drilling, each hole must be cleaned using the full prescribed sequence: blow with compressed air, brush with a wire hole brush of the correct diameter, blow again, and blow a final time. This sequence is mandatory and must not be abbreviated. An uncleaned hole filled with concrete dust will prevent the epoxy resin from bonding to the substrate, resulting in a near-zero pull-out capacity that will not be visible until the anchor fails under load.
Chemical Anchor Installation
Epoxy resin is injected into the cleaned hole using the manufacturer's dispensing gun and mixing nozzle. The first 5 to 10ml of resin dispensed through a new mixing nozzle must be discarded as the resin-to-hardener ratio at the start of a new nozzle is not yet correct. Resin is injected from the bottom of the hole upward — inserting the nozzle tip to the full hole depth and withdrawing it as the hole fills — to prevent air entrapment. The anchor bolt is then inserted with a slow rotating motion to distribute resin evenly around the bolt shank, stopping when the bolt reaches the marked depth and the resin begins to extrude from the hole mouth.
The resin must be allowed to cure fully before any load is applied to the anchor. Cure time is temperature-dependent — at Singapore's typical ambient temperature of 28 to 32°C, most epoxy anchor systems achieve full cure in four to eight hours, but the manufacturer's published cure time at the actual installation temperature must be followed. Marking each installed anchor with the installation time and checking against the cure schedule before loading is a simple quality control step that eliminates the risk of loading an uncured anchor.
Step 5: Primary Frame Erection
Bracket Installation
Brackets are offered up to the installed anchors and bolted finger-tight before any levelling adjustment is made. With all bolts finger-tight, a spirit level is placed on the bracket bearing face — the surface that will receive the primary beam — and the bracket is adjusted to level by shimming between the bracket base plate and the wall face if necessary. Aluminium shim plates of the appropriate thickness are used rather than improvisations such as folded wire or timber offcuts, which will compress or corrode over time and allow the bracket to shift. Once level, all anchor bolts are torqued to the specified value using a calibrated torque wrench — typically 20 to 40 Nm for M10 chemical anchors in concrete depending on the anchor specification.
Primary Beam Installation
Primary beams are lifted into position on the installed brackets and bolted at each bracket connection. A string line or laser level run along the top face of the beams confirms they are co-planar before the beam-to-bracket bolts are fully torqued. Any beam that sits high or low relative to its neighbours indicates either a bracket that is not level or a beam that has a camber — both must be resolved at this stage. A primary beam that is not level transfers an unintended eccentric load into its bracket connections and creates a visual slope in the finished canopy that is immediately apparent.
Purlin Installation
Purlins are installed at the centres specified on the structural drawings, spanning between primary beams and providing the bearing surface for the glass panels. Purlin-to-beam connections use stainless steel bolts with stainless steel washers and nyloc nuts — the nyloc nut prevents loosening under the vibration that wind-induced movement imposes on the frame over time. All purlin top faces must be in the same plane before glazing commences — a straightedge placed across three or more purlins will reveal any high or low members that require shimming.
Step 6: Glazing Installation
Preparation of Frame Bearing Surfaces
Before any glass is placed, all purlin and beam bearing surfaces must be cleaned of swarf, dust, and grease from fabrication. Continuous EPDM glazing tape of the width and thickness specified on the drawings is applied to all bearing surfaces — this tape provides a resilient, non-abrasive interface between the glass edge and the aluminium frame, distributes bearing stress evenly across the panel edge, and provides an initial weather seal at the panel perimeter.
Setting blocks — typically neoprene blocks of Shore A hardness 80 to 90 — are placed at the quarter points of the lower panel edge before the glass is set down. Setting blocks prevent the full weight of the panel from bearing on the glazing tape alone at the lowest edge, which would compress the tape unevenly and cause the panel to sit at a slight angle. Block thickness must be uniform across all setting block positions — a tolerance of plus or minus 0.5mm between blocks on the same panel is the maximum acceptable.
Panel Lifting and Placement
Glass panels at awning scale are lifted using a vacuum lifting frame rated to at least four times the panel weight. The vacuum frame attaches to the glass face using suction cups and must be confirmed holding vacuum — indicated by the vacuum gauge remaining in the green zone — before the lift commences. All personnel beneath the lift path must be cleared before the panel is lifted.
The panel is manoeuvred over the frame opening and lowered slowly until the setting blocks make contact with the lower bearing surface. At this point the panel is slid laterally to centre it within the frame opening, maintaining equal edge cover on all sides as specified. Edge cover — the distance between the glass edge and the aluminium frame rebate wall — must not be less than the minimum specified, as insufficient edge cover reduces the resistance of the panel to being displaced from the frame under wind suction load.
Glazing Bead Installation
Glazing beads — the aluminium or PVC sections that retain the glass within the frame on the exposed face — are pressed into the frame channel starting at the centre of each side and working outward to the corners. Forcing beads in from the corners inward traps air and prevents the bead from seating fully. Bead corners must be mitred to 45° and must meet cleanly — open mitre joints allow water ingress and create stress concentrations in the bead at the corner.
Silicone Sealing
All exposed glass-to-frame perimeter joints are sealed with a continuous bead of neutral-cure structural silicone. Joint preparation requires that all surfaces to be bonded — both the aluminium frame face and the glass edge — are wiped with the silicone manufacturer's specified primer or cleaner and allowed to flash off fully before silicone is applied. Applying silicone over unprimed aluminium or glass is a common installation error that results in adhesion failure within months of exposure.
The silicone bead must be applied in a single continuous pass — stopping and restarting creates a cold joint that will fail under movement. The bead is tooled to a concave profile immediately after application using a wetted finger or tooling instrument, pressing the silicone firmly into contact with both substrates and creating a profile that sheds water away from the joint centre. Any silicone that contacts the glass face beyond the joint line must be removed immediately with the manufacturer's solvent — cured silicone on the glass face cannot be removed without risk of scratching.
Step 7: Weatherproofing, Drainage and Final Inspection
Drainage Verification
With all panels installed and sealed, the completed awning must be tested for drainage performance before handover. A controlled water test — a hose run along the high edge of the canopy at a flow rate simulating heavy rainfall — confirms that water flows freely across the glass surface and discharges at the intended low points without pooling. Any location where water ponds indicates either a frame level error or an insufficient drainage outlet, both of which must be corrected. Standing water on a glass awning imposes a sustained load that was likely not included in the original structural design, and the accumulated weight of ponded water from a Singapore downpour can be substantial.
Final Structural Inspection
A systematic final inspection covers every anchor fixing, every frame bolt connection, every glazing bead, and every sealant joint. Each anchor is checked for movement under a firm hand load — any anchor that rotates or pulls indicates incomplete cure or inadequate installation and must be investigated and replaced. Each frame bolt is checked against the specified torque with a calibrated torque wrench — bolts that have not been torqued will loosen progressively under wind load cycling and must be torqued to specification before handover.
Every sealant joint is visually inspected for voids, bubbles, insufficient width or depth, and adhesion failure at either substrate. Any defective joint must be fully cut out — a patch applied over a defective joint will not perform — and reapplied following the full preparation sequence. The inspection is documented with photographs of each bracket, connection, and joint, creating a baseline condition record that is invaluable for future maintenance inspections and for insurance or warranty purposes.